How to Count Coins: A Step-by-Step Guide for Teaching Money
If you’ve ever watched a student stare at a handful of coins and have no idea where to start, you know that counting money is just not that simple.
Students are often expected to solve word problems involving money before they truly understand counting coins, how coins relate to each other, or how to combine coins to make amounts.
In this post, I’ll walk you through the exact sequence I use when teaching students how to count coins and understand money.
These steps build the concept gradually, so students move from:
• recognizing coins
• counting coins
• understanding coin relationships
• and eventually counting change
When students understand the why behind money, everything becomes easier — including word problems.
Using money needs to be taught in baby steps and thoughtfully sequenced. If you’re an experienced teacher, you know that starting your money unit with word problems will be a disaster. Furthermore, even if you’re a third or fourth-grade teacher, don’t assume that your students know how to count money or, in addition, make change. These are complex skills and, therefore, are quite confusing for many students.
How Do You Count Coins?
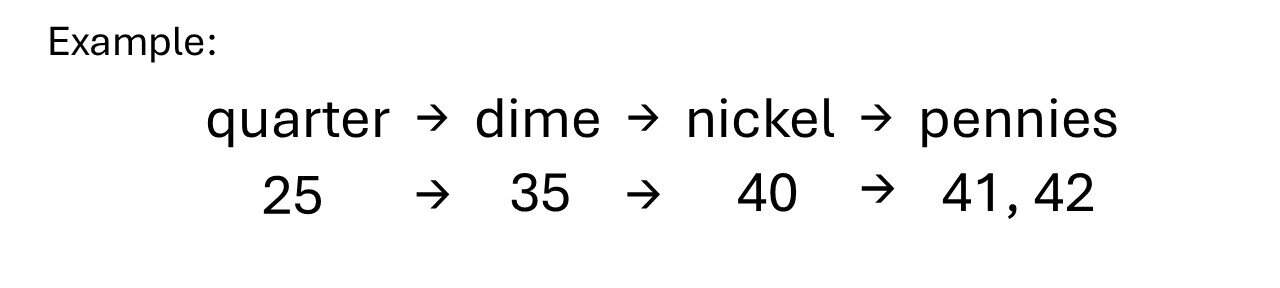
Students count coins by starting with the largest value coin and adding smaller coins.
For example, a quarter, dime, nickel, and pennies would be counted like this:
25 → 35 → 40 → 41 → 42
I explain this step-by-step later in the post with a visual example.
In this guide, you’ll learn:
• how to teach coin recognition
• how to help students count coins
• how to move from coins to abstract money concepts
• how students eventually learn to count change
BUILD THE MONEY CONCEPT
Teaching Students to Count Coins: What They Need to Learn
Students need several important skills before they can confidently count money and solve money word problems.
In this post, I’ll show you how to help students:
• recognize pennies, nickels, dimes, and quarters
• understand the value of each coin
• count mixed coins step-by-step
• build the foundation for learning to make change
Students must understand coin values before counting money. To build the concept of money, make it fun and meaningful. Additionally, encourage understanding so that when you introduce money in word problems, your students will have fun and be successful!
GIVE THEM SUPPORT WITH:
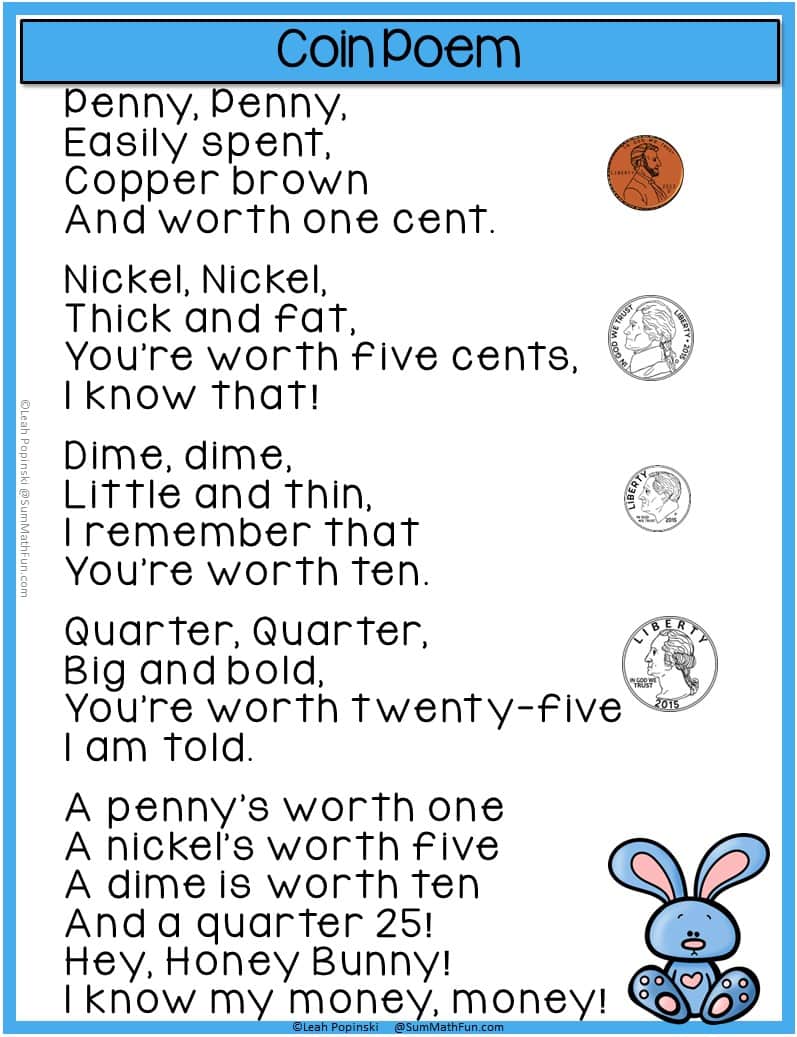
POEMS
One fun way to help students remember coin values is with a simple coin value poem like this.
POSTERS
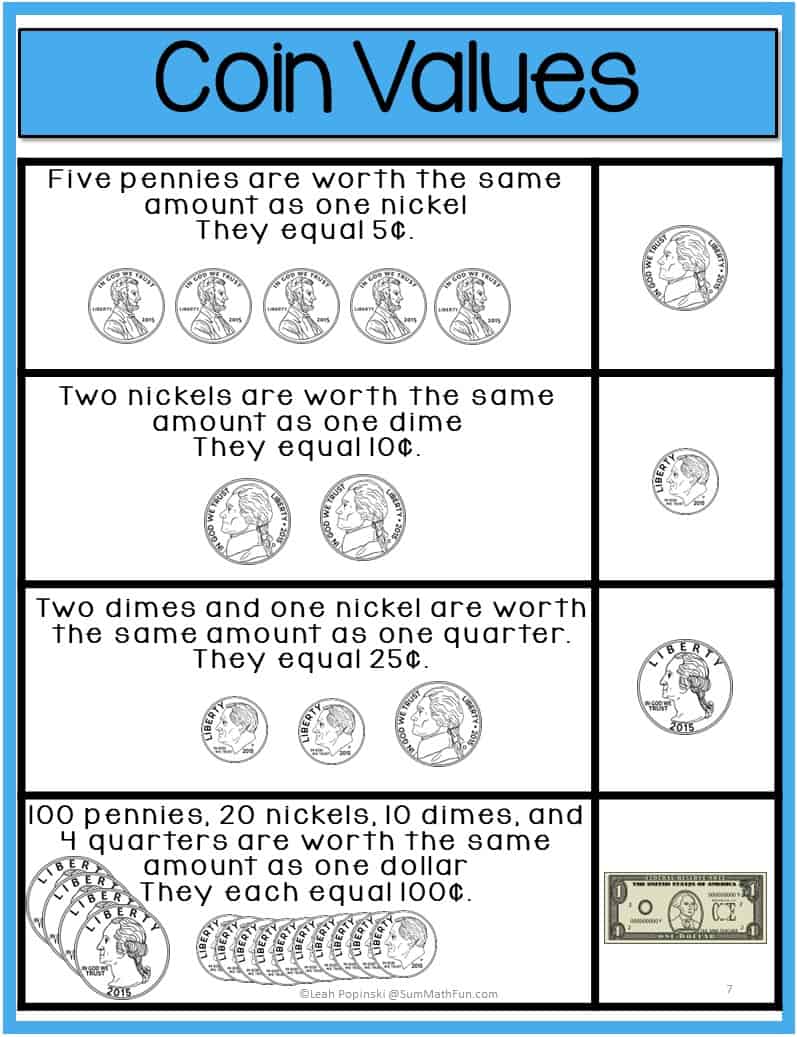
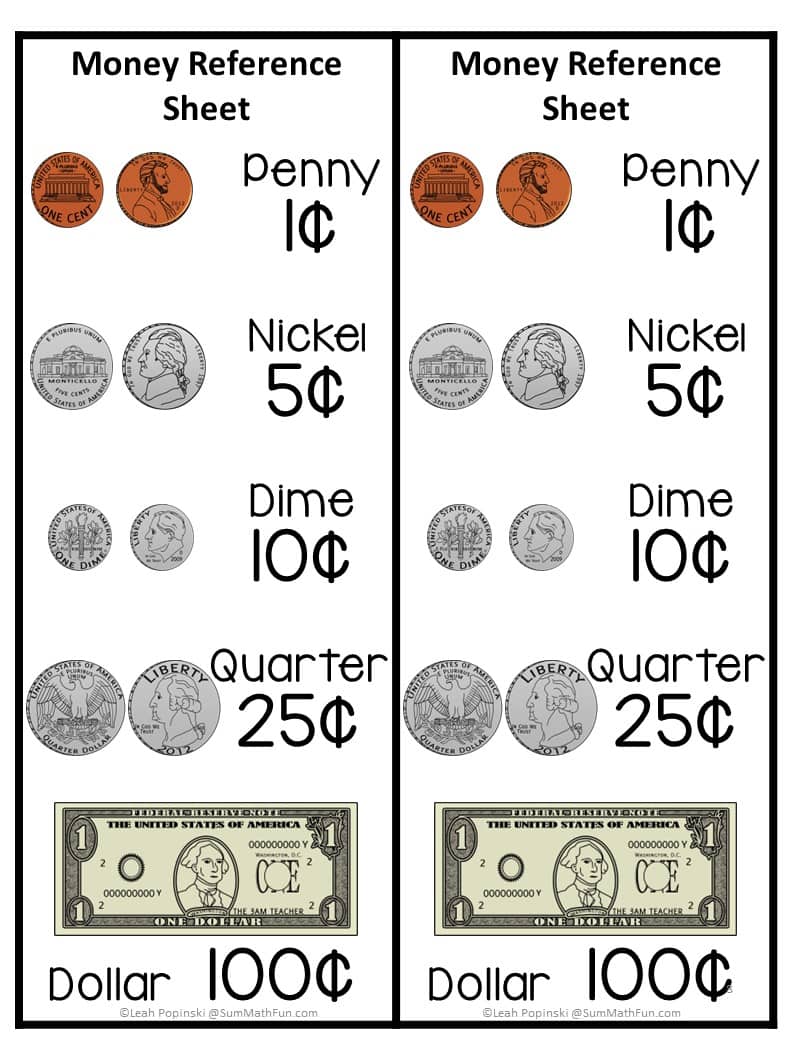
Having visuals of coin values and images displayed around the room gives students a quick visual reference as they learn to count cents. They can really boost student confidence. The poster and the individual reference chart below are good examples of student support. All of the images are resources included in the Counting Money Bundle.
and INDIVIDUAL REFERENCES such as this half-page chart.
Also, if possible, use real coins. Plastic coins do not feel, smell, or sometimes even look like the real thing. It can also be difficult to generalize plastic coins to real-world ones, especially for students with support needs.
And, by the way, watch out for the price! One year, I bought a bag of 100 pennies for $1.27! I didn’t think about the price compared to what was in the bag!! 🤦🏻♀️🤦🏼♀️🤦🏽♀️🤦🏾♀️🤦♀️
⭐This is the ultimate step-by-step guide for teaching money, from coin recognition to the abstract level of counting coins.
1. Teaching Coin Recognition (The First Step in Learning Money)
Before students can count coins, they must first recognize each coin and know its value.
This includes identifying:
• pennies
• nickels
• dimes
• quarters
Many students memorize coin names but don’t understand the value each coin represents.
I like to start by presenting only two coins at a time: the penny and the dime. (As a side note, you can also use the penny and dime when working on place value.)
First, I introduce the penny and its attributes. Most children will recognize a penny because it is a different color, and if they have a piggy bank, it usually has pennies in it.
To begin, we give pairs of students a real penny to “investigate”. Then, we talk about the back and front, the date, and other attributes that they notice. Equally important, we have them feel the weight of the coin and also notice its size if they don’t mention that. As we investigate, we make a list on an anchor chart so that students always have a visual in the classroom.
Next, we use magnifying glasses from our science materials and take a really close look. I love this, and so do they. If we have a little extra time, we tell them about “heads” and “tails” and show them how to flip a penny. I know. This can get out of hand if not controlled. But every year, there are students who have heard of flipping coins but have never seen anyone do it up close. Consequently, they don’t really know what it means to flip a coin.
In fact, flipping a coin is a great way for students to determine who goes first when playing games. Keep a few pennies in a separate container in your math manipulative area with your games.
-
An interesting fact for you
. . . Did you know that pennies usually land tails up? If you toss a penny 10,000 times, it will not be heads 5000 times, but more like 4950. The head’s picture weighs more, so it ends up on the bottom. However, the U.S. mint disputes this “error”.
Secondly, we introduce the dime. We use the same routine to introduce it. Its special characteristic is its small size.
-
An interesting fact for you
. . . The dime and the quarter have grooves around the outside. The dime has 118 to be exact. This has been verified by one of my students, who was fascinated by coins, a real junior coin collector! He taught us many interesting facts and easily led our coin conversations.
We also made coin rubbings for each after introducing the penny and the dime.
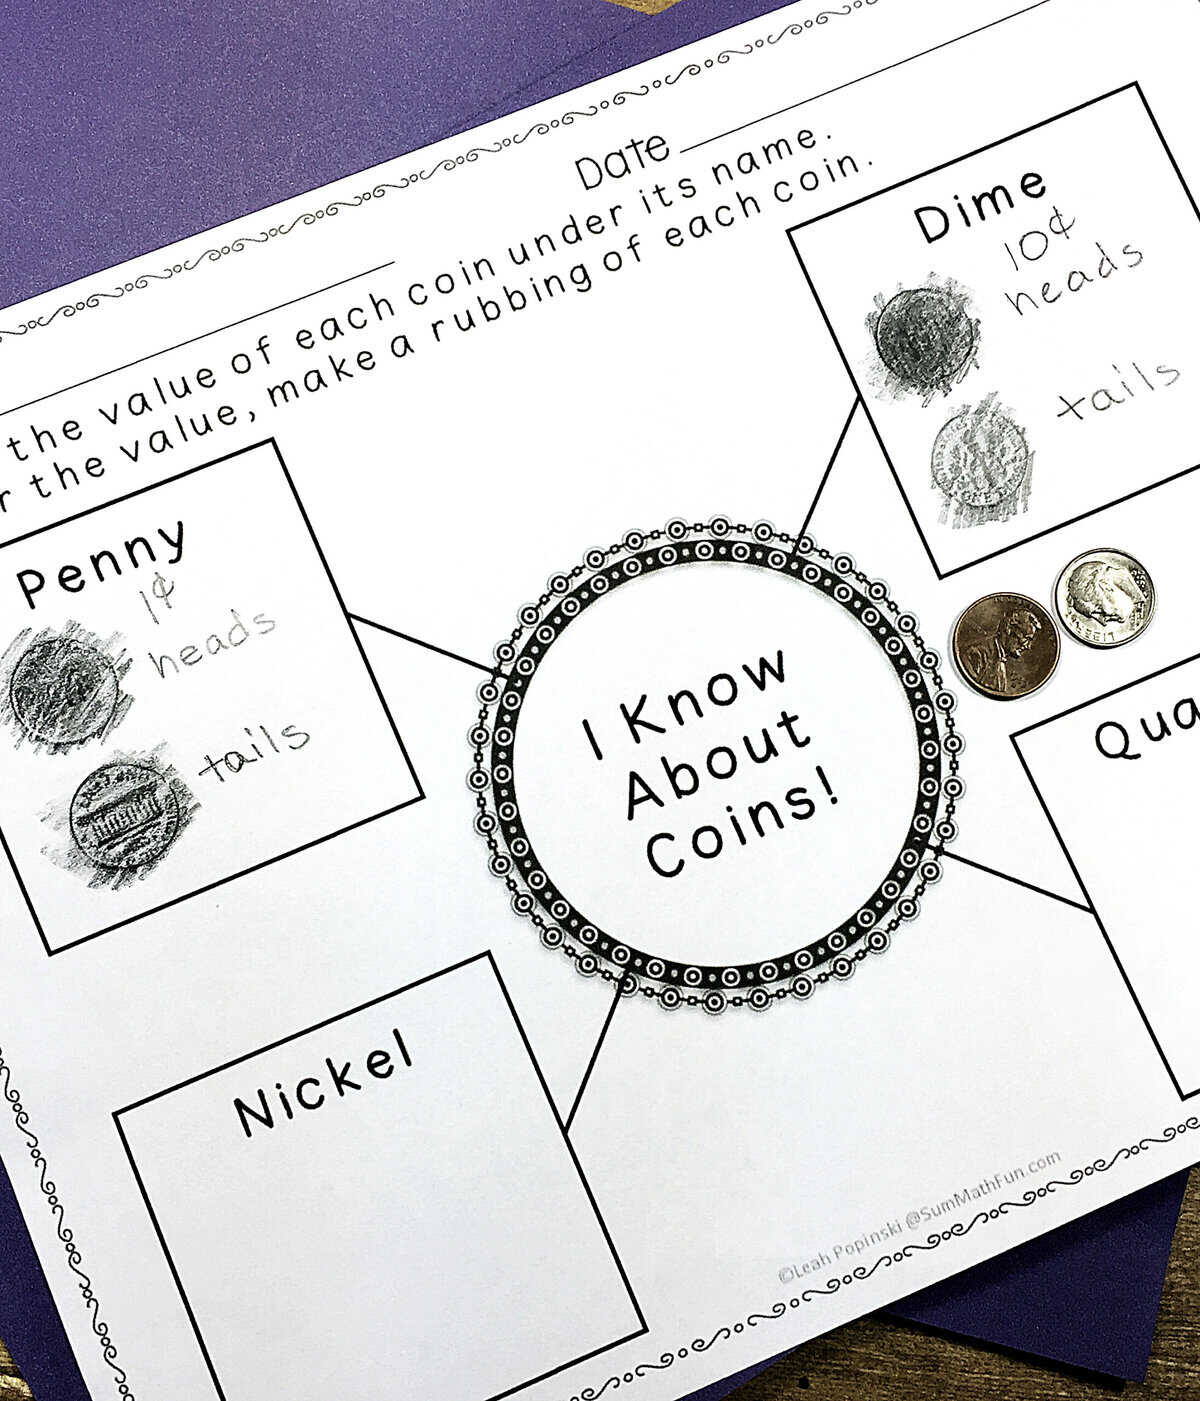
To make a coin rubbing:
-
- Place a coin on a flat surface.
- Lay a sheet of paper over the coin.
- Hold a pencil or crayon on its side and gently rub it over the paper where the coin is.
- Continue rubbing until the coin’s details appear on the paper.
Thirdly, we introduce the nickel and then the quarter in this same way, taking time to have students distinguish the individual coins and sort them many times. In addition, having a sorting mat or containers for each coin at a center works well. I also like including coin values on the containers as one more visual reminder.
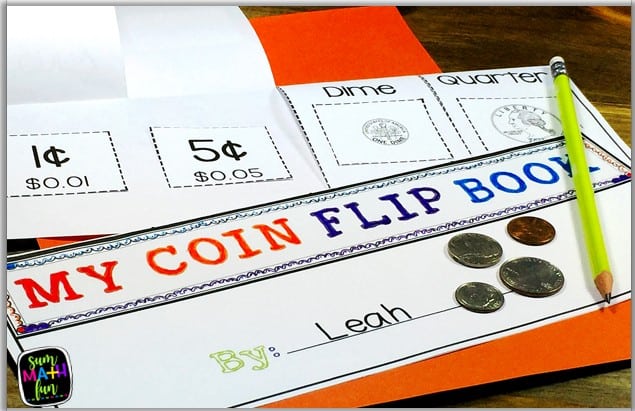
After introducing each coin (except the half-dollar), we make our coin flip-book.
2. Teaching Students How to Count Coins
Once students recognize coins, the next step is learning how to count coins correctly.
This is where many students struggle because coins are not counted by ones like regular numbers.
Students must learn to:
• count pennies by 1
• count nickels by 5
• count dimes by 10
• combine different coins to count money
What a confusing concept! As John Van de Walle points out in his book Teaching Student-Centered Mathematics, this is the only place that we point to a single object and say, “this is five,” or “this is ten”. Think how confusing this must be for our early learners, whose understanding of number concepts is still at counting each object one by one!
Consequently, at this point, you will have learners at many different levels, and you will need to proceed slowly and meet individual needs in small groups.
We count just pennies and dimes for about a week using place value and skip counting. Then we introduce the nickel and change our skip counting from tens to fives to ones.
Adding in the counting of quarters is around November for our second graders. By then, the vast majority of our students have a solid grasp of counting pennies, nickels, and dimes and are ready to count by 25s. Students must have strong skip-counting skills. These counting skills will also help your students with mental math skills!
Once students have had many opportunities with the quantities of each coin—penny, nickel, dime, and quarter —you can build on that to teach them how to count mixed amounts.
Here is a simple method for teaching students to count coins:
Step 1: Start with the largest value coin.
Step 2: Count by the value of that coin.
Step 3: Continue adding smaller coins.
Here’s what that looks like when counting coins from largest to smallest.
Students quickly begin to see how the value of each coin builds the total amount of money in cents. This helps students understand how to count cents when coins are combined.
If your students are ready to apply their money skills, you may also enjoy these interactive math activities that help students practice math concepts in engaging ways.
THE ESSENTIAL FOR TEACHING MONEY
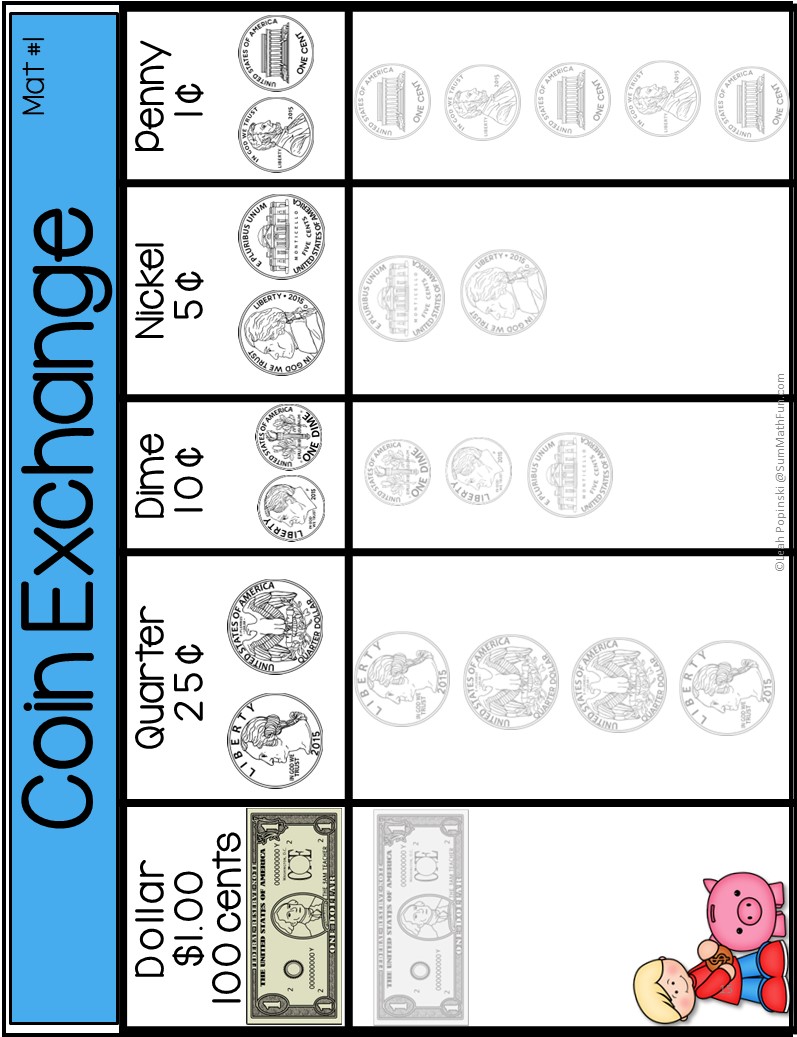
Importantly, counting coins requires repetition. Repetition. Repetition. Using these Coin Exchange Mats has been a lifesaver! Our kids LOVE them and beg to count coins. Baffling! Right? I’m pretty sure they’ve seen my eyelids sliding shut a few times after the fifth, sixth, or seventh time of reaching a dollar with the same group! 🤓
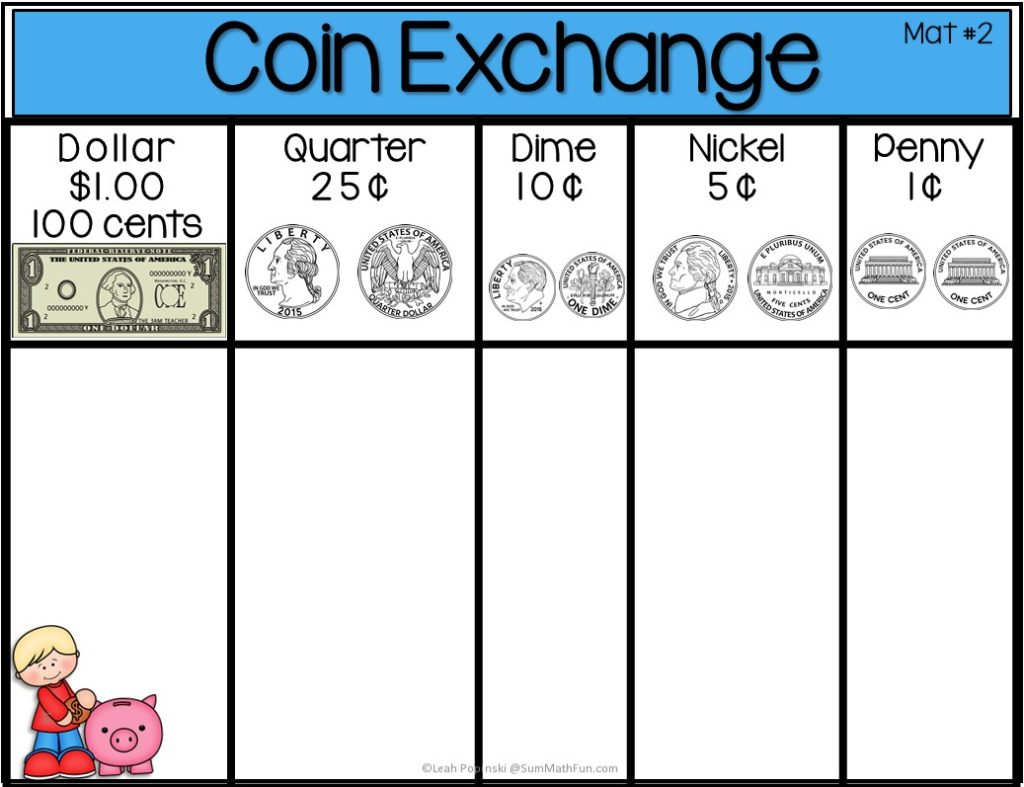
We made mats like these out of construction paper by drawing the lines and tapping real money to the top under each coin name. We use the Coin Exchange Mats in small groups. Each student has a mat and a pile of coins in front of them. Along with the mats, we have a “group bank of coins” in case someone runs out.
As students add pennies to the mat, have them count aloud:
1 penny = 1¢
2 pennies = 2¢
3 pennies = 3¢
4 pennies = 4¢
5 pennies = 5¢ and exchange for a nickel
Students continue adding pennies and counting.
1 nickel + 1 penny = 6¢
1 nickel + 2 pennies = 7¢
They continue until they have 1 nickel and 5 pennies, which they exchange for 2 nickels, then exchange those for one dime.
2 nickels = 10¢ → trade for 1 dime
Then continue counting:
1 dime = 10¢
1 dime + 1 penny = 11¢
1 dime + 2 pennies = 12¢
Continue until students reach $1.00.
The Teacher Group Talk goes like this:
Me: “Add one”. As I say this each time, I model for the students what they should do as they do it with me.
Students:
- Take a penny and place it in the penny column.
- Touch the penny and count, “one” with me.
Me: “Add one.”
Students:
- Take a penny and add it to the penny column
- Touch each penny as they count with me, “one, two”.
We repeat this until we have 5 pennies in the penny column. Observe carefully to make sure all students are touching each coin as they count with you. This is an important step.
Then . . .
Me: “Exchange!“
Students:
- Place the five pennies back into their pile of coins.
- Place a nickel in the nickel column.
- Touch the nickel and say, “five” with me.
Me: “Add one.”
Students:
- Take a penny and place it in the penny column.
- Touch the nickel and say, “five” with me.
- Touch the penny and say, “six” with me.
Me: “Add one.”
Students:
- Take a penny and place it in the penny column.
- Touch each coin as they say, “five, six, seven.”
Continue this procedure until you reach $1 or modify as needed by only counting to a quarter.
For students who need a more scaffolded approach, begin with a mat showing the correct number of coins needed for an exchange. See below.
When most students can easily count through dimes, nickels, and pennies, stop counting and let them count by themselves. When most are confident, have individual students count aloud as the others count to themselves, touching each coin.
In fact, soon, students will anticipate the exchange and say so before you get a chance. Did I tell you that they LOVE this??
The repetition of counting each coin, adding to its value each time a penny is added, making exchanges, and touching the coins as they count WORKS!
You will definitely want to do this activity! 👍
It will take more repetitions for some than others. Because they love doing this and beg to “do it again”, if you find your eyelids sliding shut, assign a responsible student who has mastered counting coins as the “guide” for a group that needs more.
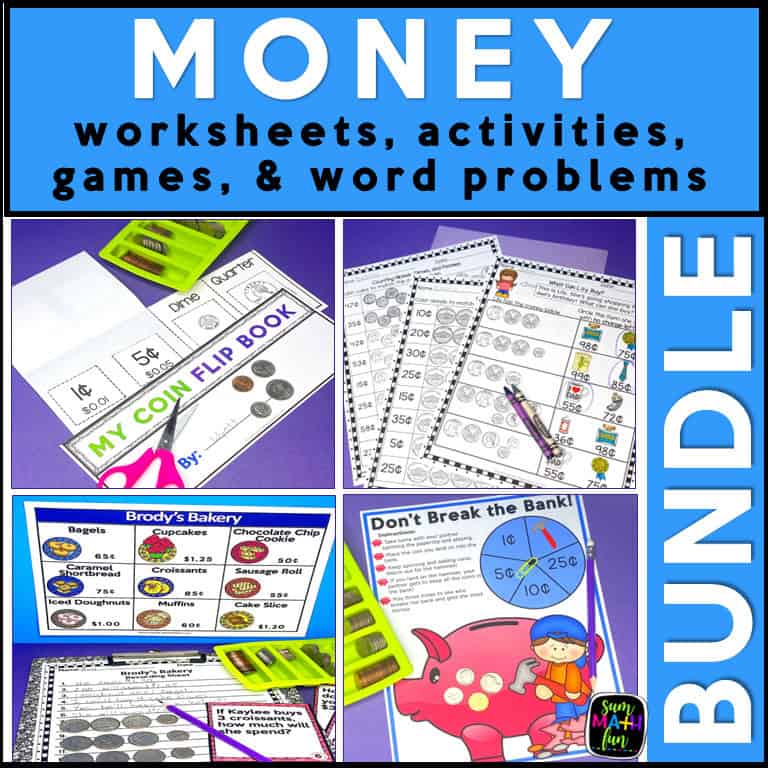
I’ve created a Counting Money Bundle with ready-to-use activities that give students exactly this kind of practice. These counting money activities give students meaningful practice in recognizing coins and counting coins to find the total amount.
When students are first learning to count coins, they need lots of practice seeing how coins combine to make different amounts.
Want to see everything included? Click the image below to take a closer look.
Finally, it’s time for students to practice at centers. Add some cute, fun games and activities like the ones below into your guided math groups and keep the fun and learning going!

Focus skill: Counting coins
By following the rules in the photo above, you can turn the Coin Exchange Mat into a game that students can play on their own or with a partner.
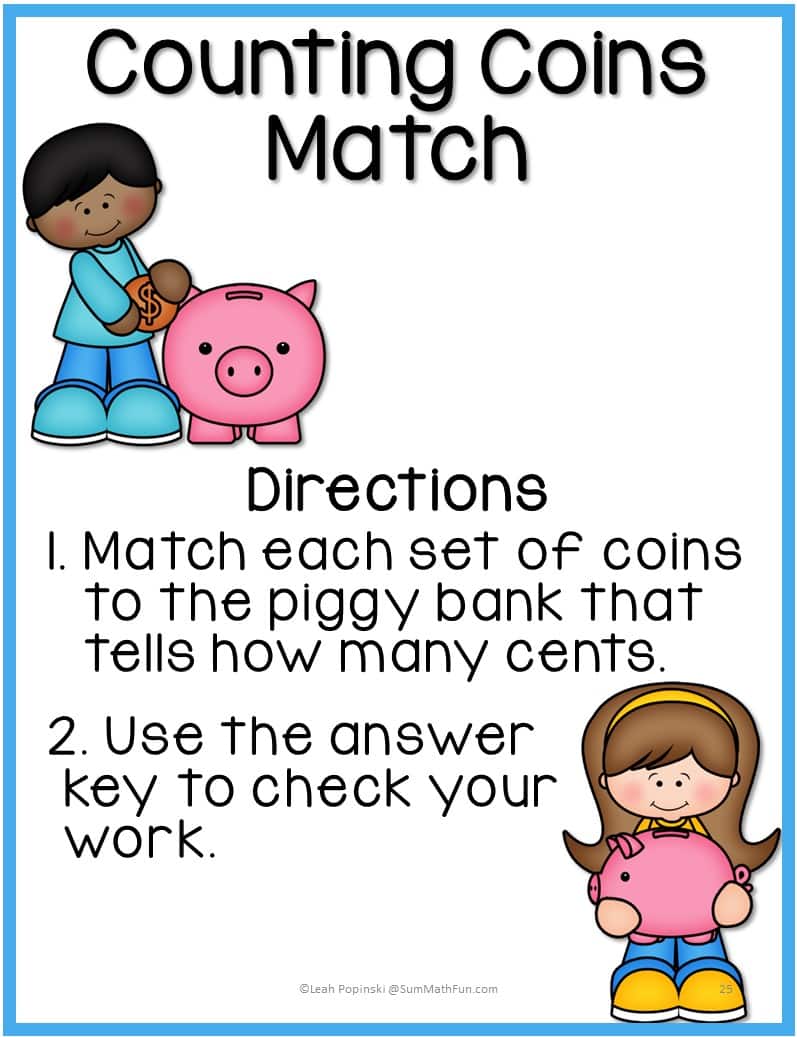
Focus Skill: Matching coins to their value
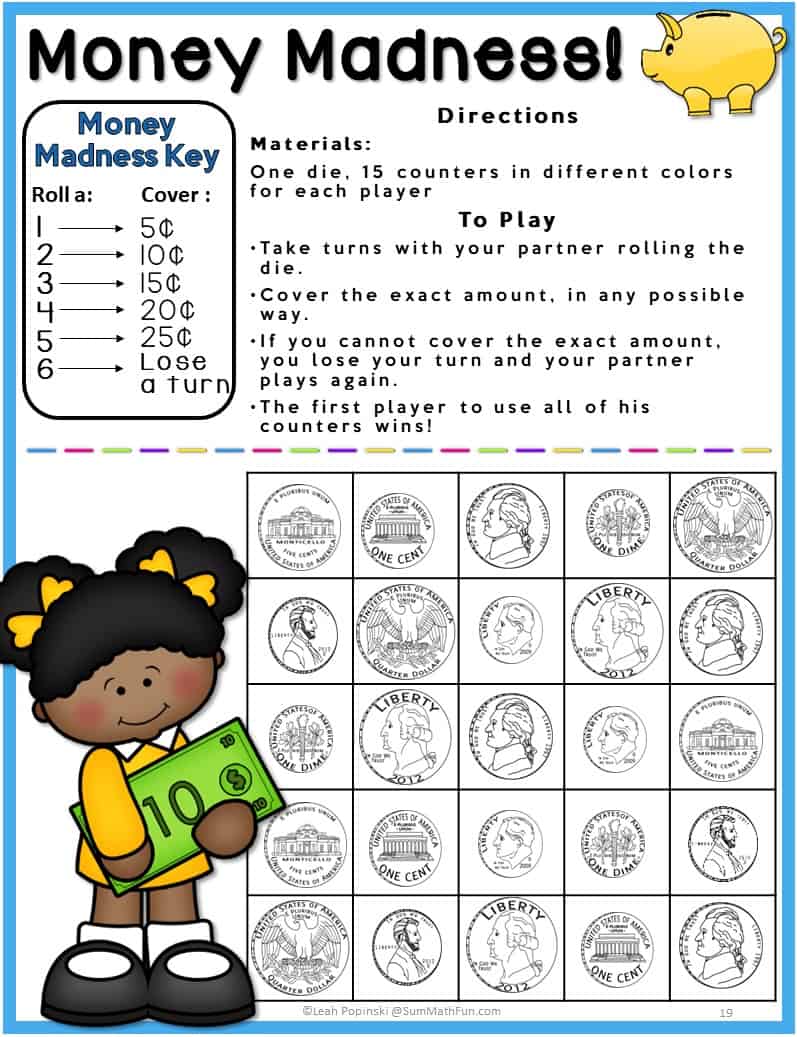
Focus Skills: Recognizing the value of each coin and counting coins.
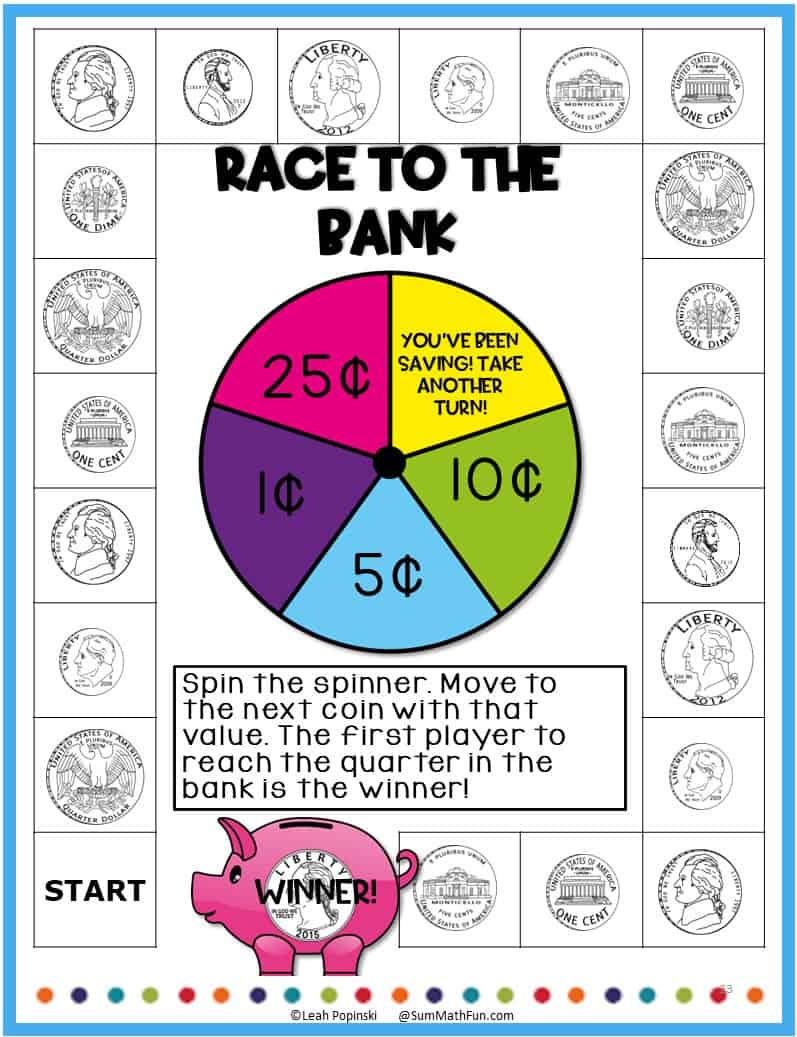
Focus Skills: Recognizing the value of each coin and counting coins.
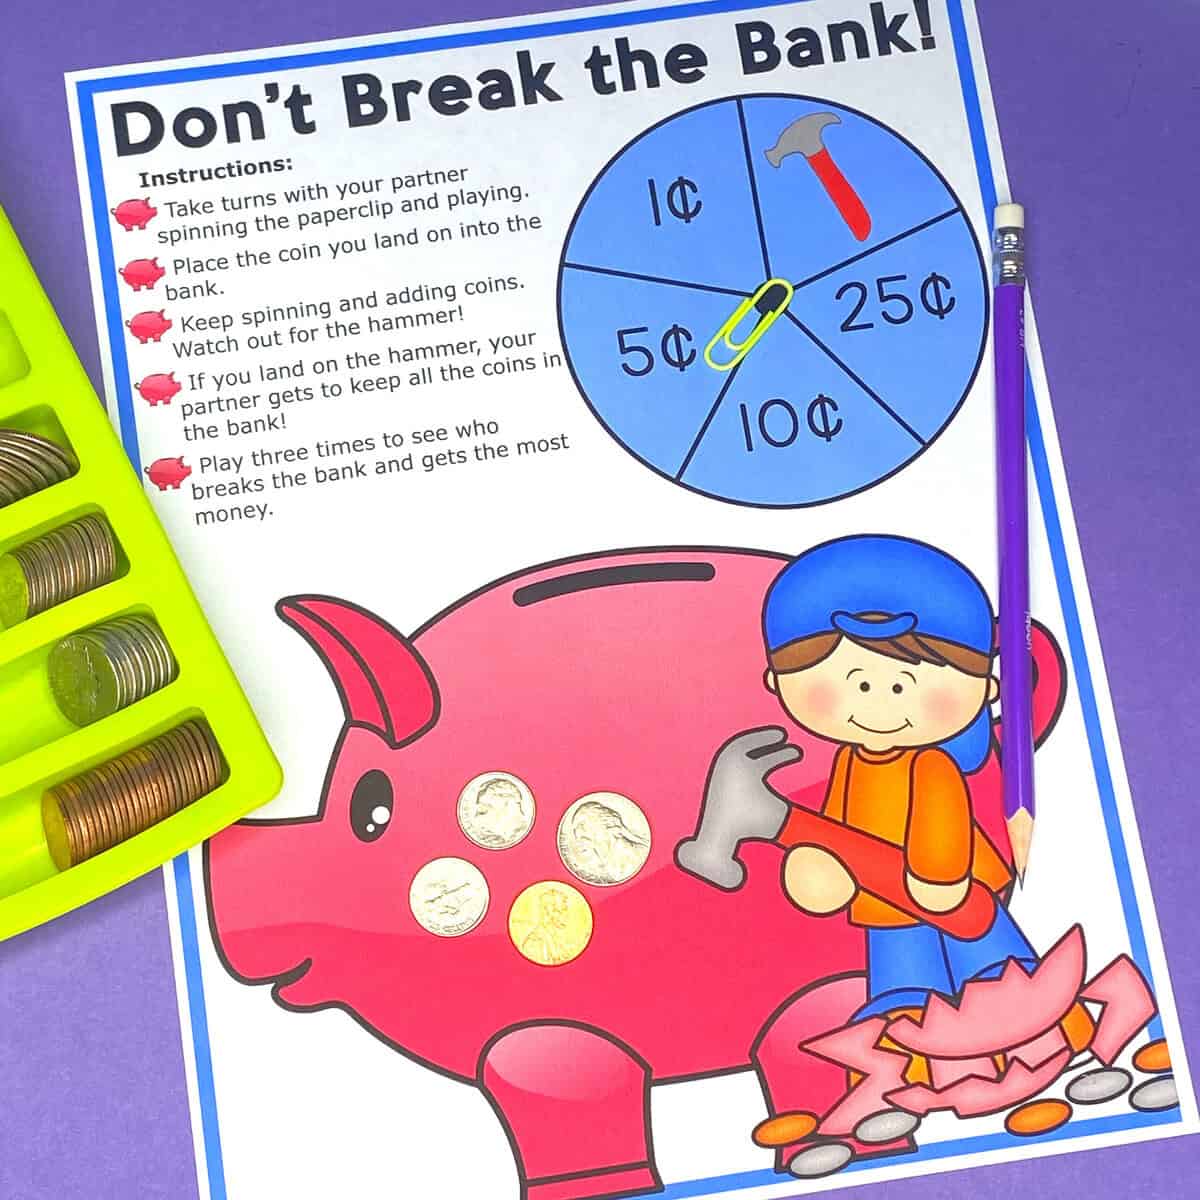
This game can be easily modified by having a Bank (a pile of coins) for students. As they land on a coin, they take it from the bank. When one player lands on the piggy bank, each player counts up their coins. The player with the greatest total wins that round.
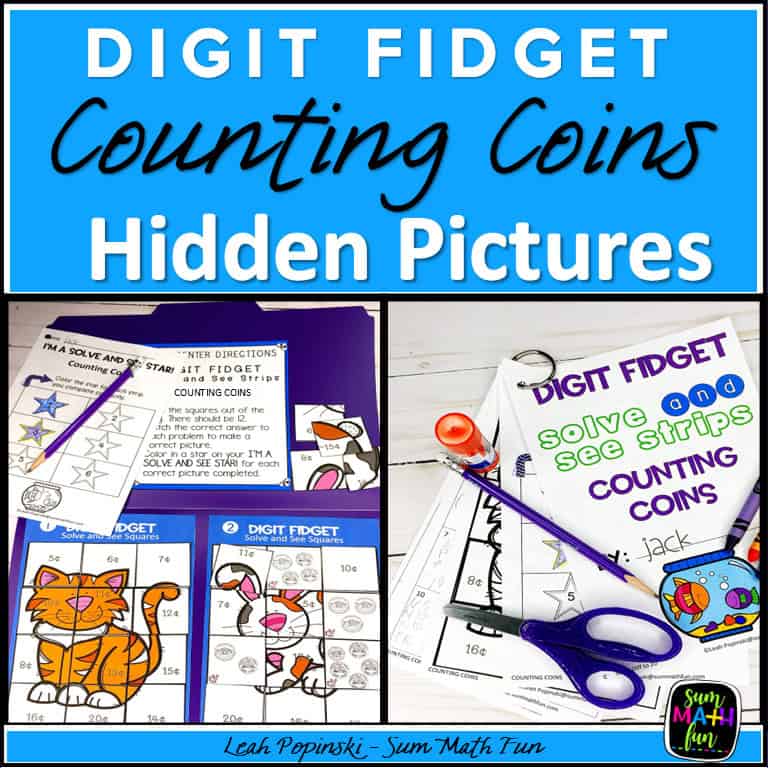
Focus Skill: Counting coins.
This simple-to-play game uses coin pictures matched to the amount and includes an answer key to give students immediate feedback and save you valuable time. Having an answer key with games also helps keep kids accountable and improves independence.
You can use these cards for a memory partner game or a solo matching activity! Plus, you can get these matching coin task cards for FREE—just fill out the form at the bottom of the post!
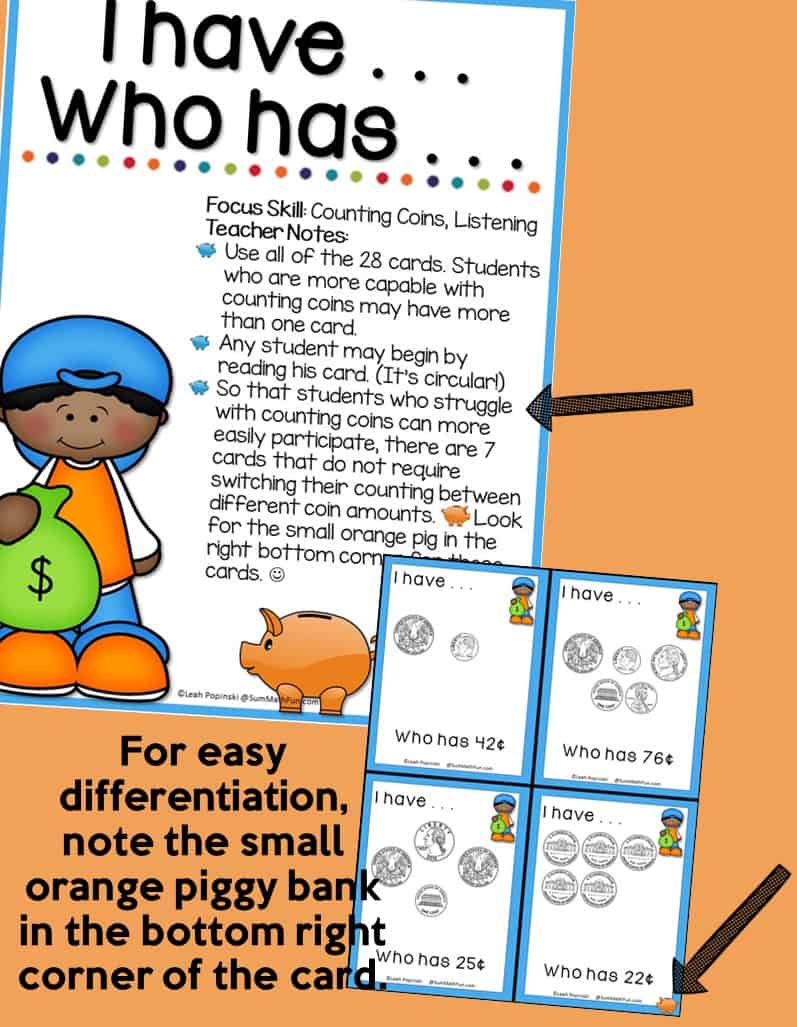
Focus Skills: Counting coins and listening.
Our kids love playing I Have… Who Has…?—and this version makes it even better! With 7 differentiated cards marked by an orange piggy bank in the corner, every student can join in with confidence. These special differentiated cards feature coins that can be counted without switching between different values, making them perfect for students who are still mastering money skills. Everyone can play and succeed together by giving these cards to those students who need extra support!
3. Moving from Counting Coins to Abstract Money Concepts
After all of these experiences with concrete and pictorial representations, students will indeed begin to move into the abstract level, which involves mentally calculating the total value without using actual coins or visuals.
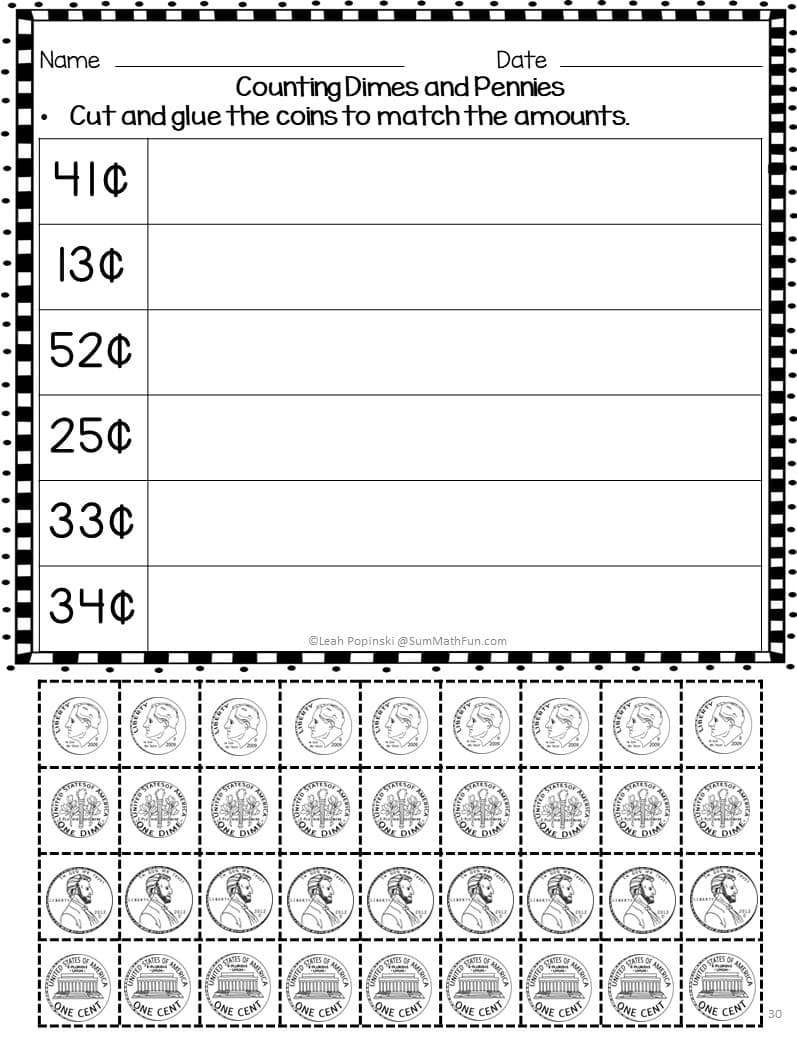
As with previous page examples, the first worksheets that students receive should include real-life-size pictures of coins. This allows students to place real coins over the pictures, helping them move seamlessly from concrete to pictorial.
Importantly, students will automatically stop placing coins on top of the pictures when they are ready for the pictorial level. 👏
Obviously, worksheets should be leveled and assigned thoughtfully to students.
They should definitely begin by featuring just one coin at a time, in the same manner as your first introductory lessons.
Depending on your students’ levels, you may want to begin by using all heads, move to all backs, and then mix.
 Be sure to track students’ progress as they complete their worksheets.
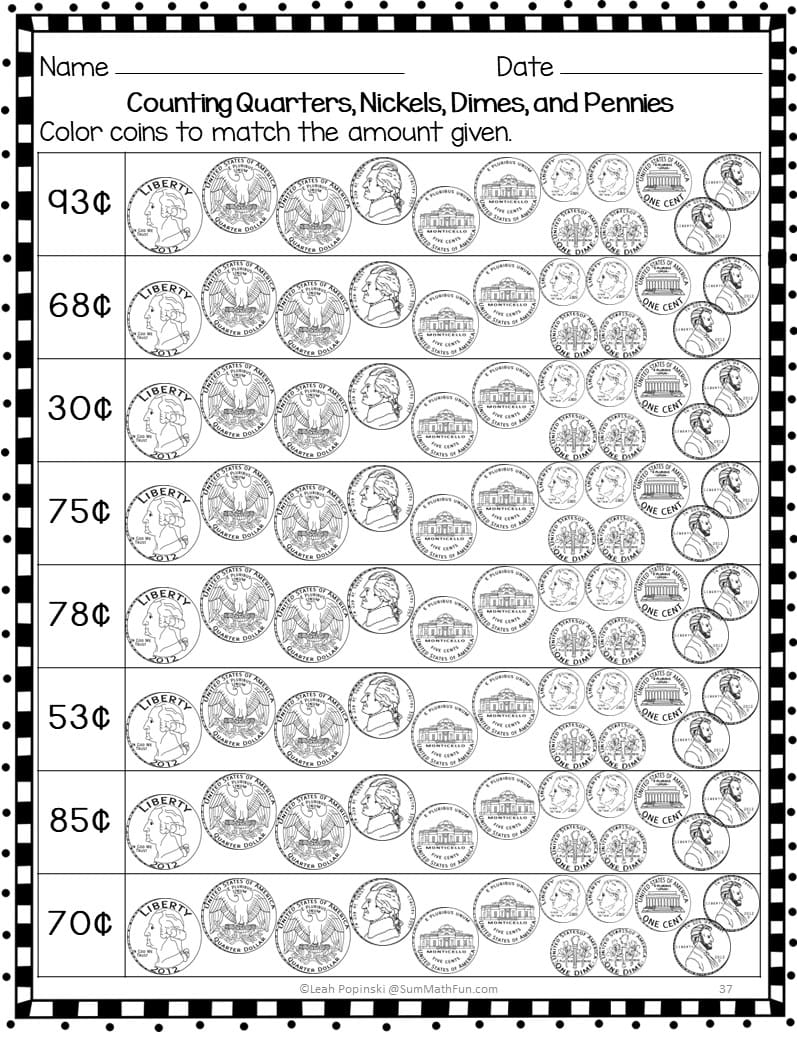
If you notice a shift in success, it’s indeed time to back up. Select specific center activities to support the needed skill and assign that activity to those students before continuing to progress through skills at a higher level. **Unlike previous coin pictures, these are proportional to each other but are not true-life sizes. Children can not place real coins on them to help them count.
 Not only do these coin worksheets have like coins together, but they are also arranged from the largest amount to the smallest amount to support the counting process.
Focus Skill: Grouping and counting coins.
The next mini-step in learning about coins is to present worksheets with coins grouped by type, not in nice straight lines, and not always quarters, then dimes, then nickels, then pennies. Students will practice counting and organizing coins by their value in ways that make sense to them.
Whew! Almost to coin-counting mastery! 😃
Skill focus: Counting mixed coins and evaluating matching amounts.

Focus Skill: Counting and drawing coins that equal a given amount – Abstract Level.
4. Counting Money at the Abstract Level
After that, we are finally at the completely abstract level, where students must learn to count money without physically touching coins.
This supports:
-
worksheets
-
word problems
-
mental math
If needed, teach students how to quickly draw a model of each coin. I usually teach them to draw a circle and write the coin value inside. That’s it! Clearly, you want to model an easy and efficient way for students to solve problems quickly.
Meanwhile, depending on the student’s level, I may also have them write the cent sign and draw the coins as proportionally as they can.
5. The final step in understanding money is learning how to make change.
Once students can count coins confidently, learning to make change becomes much easier.
And that is another blog post! ✍️🤔
If your math textbook does not support these steps in teaching money skills, you can find all of the above pages + more in the resource below.
Common Mistakes Students Make When Counting Coins
Students often:
• start counting with pennies instead of the largest value coin
• forget coin values
• count coins as if they are ones
• skip numbers when counting by 5s or 10s
Explicit instruction helps students avoid these common errors.
Common Questions About Teaching Students to Count Coins
How do you teach students to count coins?
Students learn to count coins best when they start by recognizing each coin and understanding its value. Once students know the value of pennies, nickels, dimes, and quarters, they can begin counting coins by starting with the largest value coin and adding smaller coins.
What coin should students count first?
Students should begin with the largest-value coin, such as a quarter, and then add smaller coins, like dimes, nickels, and pennies. This helps students keep track of the total value as they count.
Why do students struggle with counting money?
Counting coins can be challenging because coins are not counted by ones. Students must learn to count by 5s, 10s, and 25s, which requires both number sense and practice with coin values.
With plenty of hands-on practice and clear strategies, students can become confident in counting coins and understanding money.
How is your money unit going?
I’d love to know how your money unit is going. Do you have enough support in your math textbook?
I hope having each step in detail is helpful and saves you tons of planning time.
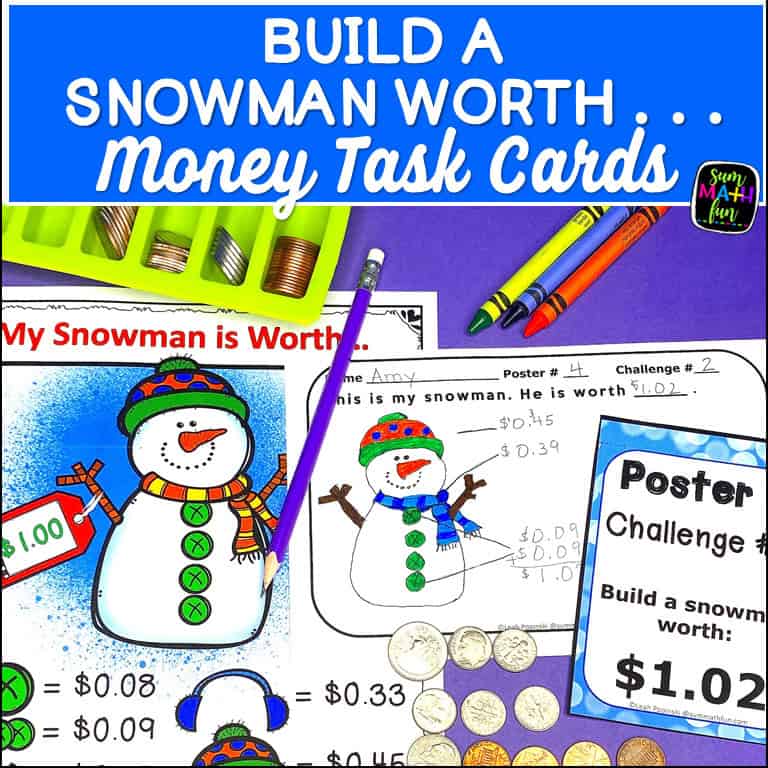
In addition to the free task cards below, you can find another free money resource in this blog post – Build a Snowman Free Money Center
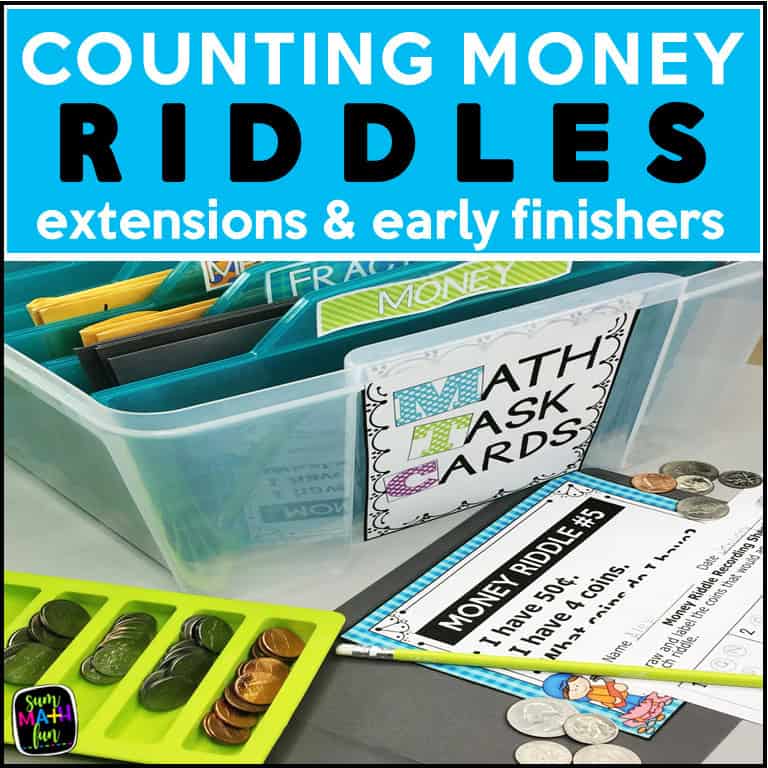
🚀 Snag Your FREE Money Matching & Memory Task Cards Now! 🎉 Looking for a fun, engaging way to help your students master money skills? Grab this FREE set of 24 Matching/Memory Money Task Cards (48 total cards!) – packed with super cute graphics that make learning fun! These ready-to-use cards are perfect for practice, review, or a quick math center activity. Don’t miss out—subscribe below and get them delivered straight to your inbox so you’re always prepared with an engaging, effective learning activity. It’s free! 💰✨
Thanks!
And as always . . .
![]()
![]()
This post was updated in March 2026 with additional teaching tips and visuals.

Omgoodness! What an abundance of math activities and fun facts in this post. I loved teaching money to my second graders. These activities are perfect to engage students. You’ll have your kiddos sorting, countin, adding and subtracting money in no time. Thanks for sharing!!
Thank you, Christine! There are a lot of activities. All differentiated and ready-to-go. Often textbooks only have about 5 money pages, so I wanted to make sure there was enough to supplement for all learners.